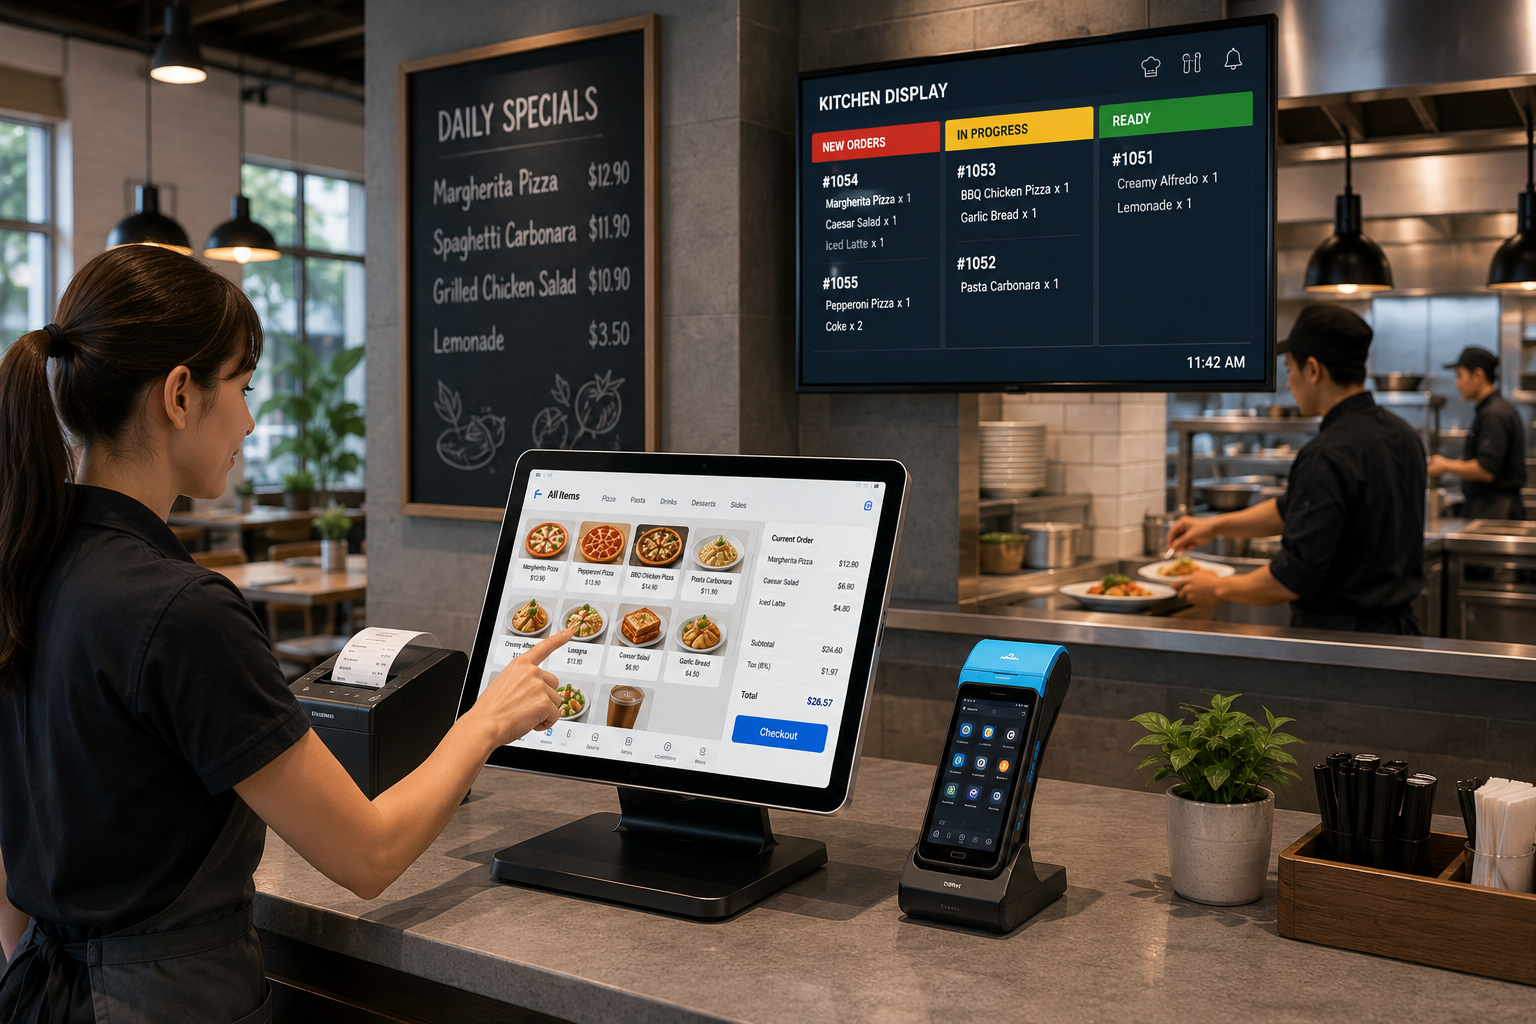
A practical guide for ISVs, system integrators, and retail operators — covering the full integration stack from RS232 physical layer to cloud middleware, OPOS/JavaPOS drivers, ESC/POS printer commands, PCI DSS network segmentation, API governance, a 7-step implementation roadmap, and a 5-year TCO comparison.
Article at a Glance
4-layer integration stack: Physical (RS232/USB) > Driver (OPOS/JavaPOS) > Application (API/SDK) > Middleware (POS-ERP-ecommerce) | Key standards: ESC/POS, OPOS 1.8+, JavaPOS 2.2, REST API, webhook events | PCI DSS: Dual-LAN segmentation for payment isolation | Implementation: 7-step roadmap, 8-16 weeks typical | 5-year TCO: Factory-pre-installed saves $58/unit vs field-deployed
1. Why POS Integration Is Harder Than It Looks
POS system integration is where most retail deployment projects stall. The software works in the lab. The hardware passes quality control. But when you connect the POS software to the thermal printer, the cash drawer, the barcode scanner, the customer display, and the payment terminal — and then connect all of that to the inventory management system and the ERP — things break. Printers garble receipts. Cash drawers do not open. Payment terminals timeout. Inventory counts drift. The result is delayed launches, frustrated store managers, and thousands of dollars in emergency integration consulting.
Most articles on POS integration focus on the business layer — connecting POS to CRM, accounting, and ecommerce. That is important, but it is only half the problem. The other half — the half that causes 70% of deployment delays — is the hardware-to-software integration layer: how your POS application talks to the physical devices through serial ports, USB, and device drivers.
This guide covers both halves. We start at the physical layer (RS232, USB, ESC/POS commands) and work up through device drivers (OPOS, JavaPOS), application APIs and SDKs, and finally middleware architecture for connecting POS to ERP, ecommerce, and inventory systems. Every section includes specific protocols, latency targets, and failure modes you will encounter in production.
2. The 4-Layer POS Integration Stack
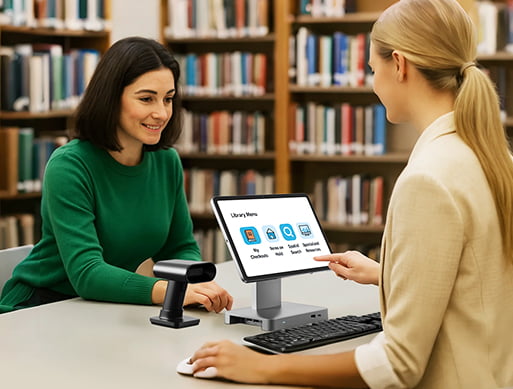
A complete POS integration has four layers. Understanding which layer a problem lives in is the first step to solving it. Most integration failures are misdiagnosed because the integrator tries to fix a Layer 1 (physical) issue at Layer 3 (application), or vice versa.
| Layer | Name | Protocols / Standards | Typical Latency | Common Failure |
|---|---|---|---|---|
| Layer 1 | Physical / Transport | RS232 serial, USB, Bluetooth, Wi-Fi | 5-50ms per command | Cable disconnected, wrong COM port, baud rate mismatch |
| Layer 2 | Device Driver / Standardization | OPOS 1.8+, JavaPOS 2.2, ESC/POS | 10-100ms per operation | Driver not installed, version mismatch, service object error |
| Layer 3 | Application / API | REST API, SDK, WebSocket, native library | 50-500ms per call | API timeout, authentication failure, payload format mismatch |
| Layer 4 | Middleware / Enterprise | REST, webhook events, message queue, ETL batch | 100ms-30min (sync vs batch) | Network outage, schema drift, queue backlog, race conditions |
When a cashier reports "the printer is not working," the problem could be at any of these four layers. A systematic integration approach tests from the bottom up: verify the cable connection (Layer 1), confirm the driver responds (Layer 2), send a test print command via the API (Layer 3), and check whether the print job was logged in the middleware (Layer 4). Most integrators skip Layer 2 — the device driver — which is where 40% of hardware integration failures actually live.
3. Layer 1: Physical Connectivity and Device Protocols
POS peripherals connect to the terminal through specific physical interfaces. Understanding these interfaces — and their limitations — is the foundation of reliable hardware integration.
| Peripheral | Interface | Protocol | Key Parameter |
|---|---|---|---|
| Thermal receipt printer | RS232 COM or USB | ESC/POS command set | Baud rate 9600 or 115200, 8N1 |
| Cash drawer | RJ11 on printer or RS232 on terminal | 24V pulse kick (printer-driven) or Hex command (COM-driven) | Pulse duration 100-500ms |
| Barcode scanner | USB HID or RS232 COM | HID keyboard wedge or serial data stream | Suffix character (CR, TAB, or none) |
| Customer display | RS232 COM or VGA/HDMI | ESC/POS display commands or extended desktop | 2x20 character LCD or graphic display |
| MSR / NFC reader | RS232 COM or USB | ISO 7811/7816 track data or NFC Forum Type 4 | Track 1+2+3 format, LRC parity |
| Payment terminal | Ethernet LAN or USB | ISO 8583 or semi-integrated REST API | Timeout 30-45s for card-present |
3.1 ESC/POS: The Universal Printer Language
ESC/POS is the command set used by 90%+ of thermal receipt printers worldwide (Epson, Star, Zjiang, xPrinter, SynqNode). It is a byte-level protocol where your POS software sends escape sequences to the printer via the COM port or USB. Understanding these commands is essential for debugging receipt formatting issues.
Key ESC/POS commands every POS integrator should know:
- Initialize printer: ESC @ (0x1B 0x40) — resets all settings to default; always send this at session start
- Print and feed paper: ESC d n (0x1B 0x64 n) — prints buffer then feeds n lines; use after receipt completion
- Cut paper: GS V n (0x1D 0x56 n) — full cut (n=1) or partial cut (n=0); some printers require GS V 1
- Open cash drawer: GS D1 (0x1D 0x07) or ESC p m t1 t2 (0x1B 0x70 m t1 t2) — sends pulse to RJ11 kick port
- Set print alignment: ESC a n (0x1B 0x61 n) — left (0), center (1), right (2)
- Bold on/off: ESC E n (0x1B 0x45 n) — bold on (1), bold off (0)
- Set character size: GS ! n (0x1D 0x21 n) — doubles width (bit 4) and height (bit 7)
- Print barcode: GS k m d1...dn (0x1D 0x6B m data) — prints UPC-A, Code128, QR code depending on m value
- Print QR code: GS ( k pL pH cn fn n — extended command for QR code with error correction level
When receipt formatting breaks — text alignment is wrong, barcodes do not scan, or the paper cuts in the middle of text — the cause is almost always a missing or incorrect ESC/POS command. Sending ESC @ at the start of each print session resets the printer to a known state and prevents accumulated format commands from corrupting subsequent receipts.
3.2 Cash Drawer Integration: Two Methods
Cash drawers open via a 24V electrical pulse. There are two integration methods, and choosing the wrong one is a common cause of "drawer will not open" tickets:
Method 1: Printer-driven (RJ11 from drawer to printer). The POS software sends an ESC/POS cash drawer command to the thermal printer. The printer routes 24V from its internal power supply through the RJ11 port to the drawer solenoid. This is the most common method — it requires no additional cabling to the terminal and works with any printer that supports ESC/POS drawer commands.
Method 2: COM-driven (RJ11 from drawer to terminal). The POS terminal has a dedicated 24V cash drawer port on the motherboard. The POS software sends a hex command (typically 0x07 or a manufacturer-specific byte) to the COM port, which triggers the solenoid directly. This method is used when there is no printer, or when the printer is USB-connected (USB printers cannot drive the RJ11 drawer port).
Common failure: The POS software is configured for Method 1 (printer-driven) but the drawer is physically connected to Method 2 (COM port), or vice versa. The fix is either reconfiguring the software or re-cabling the drawer. Always verify the physical connection path before debugging software commands.
4. Layer 2: Device Drivers — OPOS and JavaPOS
OPOS (OLE for Retail POS) and JavaPOS are device driver standards that create a universal abstraction layer between POS software and hardware peripherals. Without these standards, every POS software vendor would need custom drivers for every printer model, every scanner model, and every cash drawer — a combinatorial nightmare. With OPOS/JavaPOS, your software calls a standard API ("print line", "open drawer", "read barcode") and the driver translates it into the manufacturer-specific command bytes.
| Standard | Platform | Architecture | Device Classes |
|---|---|---|---|
| OPOS 1.8+ | Windows | COM (Component Object Model) Service Objects | Printer, CashDrawer, Scanner, MSR, LineDisplay, PinPad, Scale, ToneIndicator |
| JavaPOS 2.2 | Java (Windows, Linux, Android) | JavaPOS Service Objects (JAR libraries) | Same as OPOS plus ElectronicValueRW, FiscalPrinter, HardTotals |
Here is how the OPOS/JavaPOS architecture works in practice:
1. Application layer: Your POS software calls OPOS methods like PosPrinter.PrintNormal(PTR_S_RECEIPT, "Hello World") or CashDrawer.OpenDrawer(). These are standard method calls defined by the OPOS specification — they do not change based on printer brand.
2. Control Object (CO): A generic library provided by the OPOS committee that validates method calls and manages device state. The CO is brand-agnostic — the same CO works for all printers.
3. Service Object (SO): The brand-specific driver provided by the hardware manufacturer. The SO translates the standard OPOS method call into the actual ESC/POS bytes for a specific printer model. This is where manufacturer-specific logic lives — Epson SO knows Epson command bytes, Star SO knows Star command bytes.
4. Physical device: The SO sends the translated bytes through the RS232 COM port or USB to the actual printer hardware.
Integration tip: When sourcing POS hardware, always ask the manufacturer: "Do you provide OPOS and JavaPOS Service Objects for this model?" If the answer is no, your software team will need to write custom ESC/POS command wrappers — adding 2-4 weeks of development per peripheral type. All SynqNode POS terminals ship with OPOS and JavaPOS Service Objects for Windows, Linux, and Android.
5. Layer 3: Application APIs and SDKs
Above the device driver layer, POS hardware manufacturers provide APIs and SDKs that let your POS application control hardware at a higher level — without dealing with individual ESC/POS bytes or OPOS method calls. These typically fall into three categories:
| API Type | Description | Best For | Integration Time |
|---|---|---|---|
| Native SDK | Downloadable library (JAR, DLL, .so) with pre-built functions for printer, drawer, display, scanner | ISVs building native POS apps (Java, C#, C++) | 2-5 days |
| REST API | HTTP endpoints for hardware control via localhost or network | Web-based POS apps, cloud POS, remote device management | 1-3 days |
| Android Intent API | Android broadcast intents for printer and peripheral control | Android POS apps running on Android terminals | 1-2 days |
A well-designed hardware SDK should let your software team complete a basic integration in under a week. The SDK should include: sample code in your target language, API documentation with method signatures and parameter descriptions, a hardware simulator for development without physical devices, and a test suite for validating integration before deployment.
5.1 Semi-Integrated Payment: The PCI-Smart Architecture
Payment integration deserves special attention because of PCI DSS compliance requirements. The modern best practice is "semi-integrated" payment architecture, where the POS software never touches raw card data. Instead:
- The POS software sends a sale amount to the payment terminal via REST API or serial command
- The payment terminal handles the entire card-present transaction internally — EMV chip reading, PIN entry, NFC tap, receipt printing
- The payment terminal returns only a tokenized result (approved/declined, amount, token, reference number) to the POS software
- No card number, track data, or PIN ever enters the POS application memory
This architecture dramatically reduces PCI DSS compliance scope for the POS software. The payment terminal is PCI PTS-certified and handles the secure card data environment. The POS software only deals with tokenized results — placing it outside the scope of most PCI DSS requirements.
6. Layer 4: Middleware — Connecting POS to ERP, Inventory, and Ecommerce
Above the hardware integration layers, the POS terminal must exchange data with business systems: ERP for financial posting, inventory management for stock levels, ecommerce for unified pricing and orders, CRM for customer data, and loyalty programs for rewards. This is the middleware layer — and it is where small retail chains hit scaling walls.

6.1 Integration Methods Compared
| Method | How It Works | Latency | Best For |
|---|---|---|---|
| Native integration (built-in) | POS platform includes pre-built connector for target system (e.g., Shopify-Square, Toast-QuickBooks) | Near real-time (5-30s) | Single-store, standard workflows, no custom needs |
| REST API integration | POS publishes REST endpoints; middleware or target system calls them for real-time sync | Real-time (100-500ms) | Multi-store, custom workflows, real-time inventory |
| Webhook events | POS pushes event notifications (sale completed, refund issued) to subscribed systems | Near real-time (1-5s) | Event-driven architectures, decoupled systems |
| Middleware platform | Dedicated integration layer (e.g., MuleSoft, Dell Boomi, Apache Kafka) handles transformation, routing, retry | Configurable (real-time to batch) | Enterprise chains (50+ stores), complex multi-system landscapes |
| Batch file export/import | POS exports CSV/XML/JSON files on schedule; ERP imports them overnight | Batch (5-30 min delay) | Legacy systems without API support, low-volume stores |
6.2 PCI DSS Network Segmentation: Dual-LAN Architecture
PCI DSS Requirement 1 requires network segmentation between the cardholder data environment (CDE) and the rest of the store network. In practice, this means the POS terminal connects to two separate networks:
- LAN 1 (Payment Network): Isolated VLAN connecting POS terminals to payment terminals and the payment gateway. No internet access. No connection to store WiFi. Firewalled at the router level.
- LAN 2 (Management Network): Separate VLAN for POS-to-ERP sync, inventory updates, remote management, and store WiFi. Internet access through the store router. PCI scope is reduced because card data never traverses this network.
Industrial mini PCs with dual LAN ports support this architecture natively. Commercial PCs with a single LAN port require USB Ethernet adapters — which are less reliable, bandwidth-limited, and create a potential network bridge that PCI auditors may flag. Using a dual-LAN industrial mini PC is the cleanest path to PCI DSS network segmentation compliance.
7. The 7-Step POS Integration Implementation Roadmap
A successful POS integration project follows a structured implementation roadmap. Here is the 7-step process we recommend for ISVs, integrators, and retail operators:
| Step | Phase | Duration | Key Deliverables |
|---|---|---|---|
| 1 | Requirements and device inventory | 3-5 days | Device list with models, COM port assignments, driver versions, network diagram, PCI scope assessment |
| 2 | Driver and SDK integration | 1-2 weeks | OPOS/JavaPOS Service Objects installed, SDK sample code compiled, basic print/drawer/scan tests passing |
| 3 | Payment integration | 1-2 weeks | Semi-integrated payment API connected, test transactions passing (Visa, Mastercard, Amex, contactless), tokenization verified |
| 4 | Middleware and business system integration | 2-3 weeks | POS-to-ERP sync configured, inventory real-time updates tested, ecommerce price/order sync validated, webhook events firing |
| 5 | Stress and edge case testing | 1 week | 24-hour continuous operation test, network failover test, payment timeout handling, concurrent peripheral access, receipt reprint |
| 6 | Pilot store deployment | 1-2 weeks | 1-3 stores live, cashier training, issue log, daily monitoring, bug fixes, sign-off from store manager |
| 7 | Mass deployment | 2-4 weeks | Factory-pre-installed OS images, staged rollout by region, on-site validation per store, documentation handover |
| Total timeline (typical) | 8-16 weeks | From requirements to first store live; mass deployment adds 2-4 weeks per 50 stores | |
Critical path: Steps 2 and 3 (driver integration and payment integration) are on the critical path. If the hardware manufacturer provides OPOS/JavaPOS Service Objects and a semi-integrated payment API, these steps take 2-3 weeks total. If they do not, add 4-6 weeks for custom driver development and payment integration engineering. Always verify SDK availability before committing to a hardware platform.
8. Troubleshooting: 10 Common Integration Failures
These are the 10 most common POS integration failures we see in production deployments, along with their root causes and fixes:
| Symptom | Layer | Root Cause | Fix |
|---|---|---|---|
| Printer prints garbage characters | L1/L2 | Baud rate mismatch (9600 vs 115200) or wrong ESC/POS dialect | Match baud rate in POS config to printer DIP switch setting; send ESC @ to reset |
| Cash drawer does not open | L1/L3 | Wrong kick method (printer-driven vs COM-driven) or 24V cable to wrong port | Verify RJ11 cable path; switch POS config from printer-kick to COM-kick or vice versa |
| Scanner reads but POS does not capture | L1 | Scanner suffix character mismatch — POS expects CR but scanner sends TAB | Reconfigure scanner suffix to match POS input expectation (scan config barcode) |
| OPOS Service Object will not load | L2 | SO not registered in Windows registry or wrong bitness (32-bit SO on 64-bit OS) | Register SO with regsvr32; ensure bitness matches POS application (32-bit app needs 32-bit SO) |
| Payment terminal timeout | L3 | POS timeout set too short (15s) for EMV chip transactions that need 30-45s | Increase API timeout to 45s for card-present; add "processing" UX during chip read |
| Customer display shows garbage | L2 | Wrong display protocol (ESC/POS vs DSP-800 vs CD5220) or wrong baud rate | Identify display model; set correct protocol and baud rate; send clear command on init |
| Inventory counts drift over time | L4 | Batch sync delays (15-30 min) cause overselling between updates | Switch from batch to real-time webhook events; add safety stock buffer for lag period |
| ERP posting fails intermittently | L4 | Race conditions when multiple POS terminals post simultaneously; no idempotency key | Add idempotency key to ERP posting API; implement queue-based posting with retry |
| Receipt prints but cuts mid-text | L2 | Cut command (GS V) sent before buffer flush; paper feed not sent before cut | Send ESC d 3 (feed 3 lines) before GS V 1 (cut); ensure buffer flush before cut |
| Dual-screen shows same content | L3 | OS display set to "duplicate" instead of "extend"; POS app not targeting secondary display | Set OS display to "extend"; configure POS app to render customer display content on display 2 |
9. Factory Pre-Installation: Eliminating Field Integration Risk
The most effective way to reduce POS integration risk is to eliminate field integration entirely. Instead of shipping blank terminals to stores and having technicians install software, configure drivers, and test peripherals on-site, you can have the hardware manufacturer perform all integration work at the factory before shipment.
This approach — factory pre-installation — transforms POS integration from a field deployment problem into a manufacturing quality control process. Here is how it works and why it changes the economics:
| Comparison | Field-Deployed Integration | Factory Pre-Installed |
|---|---|---|
| OS image installation | Technician installs per unit on-site (30-45 min/unit) | Factory flashes golden image on production line (5 min/unit) |
| Driver configuration | Manual OPOS/JavaPOS install and COM port mapping | Pre-configured in golden image with verified port assignments |
| Peripheral testing | Technician tests printer, drawer, scanner per unit (15-20 min) | 100% tested on factory bench — print test, drawer kick, scan test |
| Stress testing | Rarely done — too time-consuming in the field | 24-hour burn-in test on production line before packaging |
| On-site setup time | 2-4 hours per terminal | 15-30 min per terminal (unbox, plug in, verify) |
| Defect rate at deployment | 5-12% (driver issues, port mismatches, image corruption) | 0.5-1% (transit damage only) |
| Technician skill required | Intermediate IT (OS, drivers, networking, troubleshooting) | Basic (unbox, cable connect, power on) |
| Cost per unit (50-store deployment) | $92/unit (3hr x $30/hr field tech) | $34/unit (factory labor + 0.5hr field verification) |
For a 100-terminal deployment, factory pre-installation saves $5,800 in field labor and reduces the defect rate from 5-12% to under 1%. The savings compound: fewer field service calls ($75 each), fewer delayed store openings, and fewer emergency integration consulting engagements. Over a 5-year period, the TCO difference between field-deployed and factory-pre-installed is approximately $58 per unit — $5,800 for a 100-unit deployment.
10. API Governance and Integration Lifecycle Management
Once your POS integration goes live, it enters a lifecycle that requires ongoing governance. APIs change, SDKs get updated, POS software releases new versions, and peripheral firmware patches arrive. Without governance, integration drift — the gradual divergence between what the API contract says and what the actual system does — creates silent failures that surface months after deployment.
10.1 API Version Management
- Pin API versions in production: Never auto-update to latest API version in production POS. Pin to a tested version and upgrade on a controlled schedule (quarterly review cycle).
- Maintain a compatibility matrix: Track which POS software version works with which OPOS/JavaPOS SO version, which SO version works with which firmware, and which firmware works with which hardware revision. This matrix is your integration truth table.
- Test before upgrading: Run the full peripheral test suite (print, scan, drawer open, payment, display) after any component upgrade — even minor version bumps. 60% of integration regressions come from "minor" driver updates that change default behavior.
10.2 Monitoring and Alerting
Production POS integrations need monitoring at two levels:
| Monitoring Level | What to Track | Alert Threshold |
|---|---|---|
| Technical (device-level) | Printer offline, COM port errors, OPOS SO crashes, USB disconnects, payment terminal heartbeat | Any device offline >5 min; any OPOS error >3 events/hr |
| Business (transaction-level) | Sync latency POS-to-ERP, inventory discrepancy count, payment failure rate, receipt reprint rate | Sync latency >5 min; payment failure rate >3%; reprint rate >2% |
11. SynqNode Integration Support
SynqNode provides comprehensive integration support for ISVs, system integrators, and retail operators deploying our POS hardware. Our approach is to remove the technical burden from your team through factory-level services:
- OPOS and JavaPOS Service Objects — Full driver support for Windows, Linux, and Android. All SynqNode POS terminals and industrial mini PCs ship with OPOS 1.8+ and JavaPOS 2.2 SOs for printer, cash drawer, scanner, MSR, line display, and pin pad device classes.
- SDK with sample code — Native SDK (JAR, DLL, .so) with API documentation, sample code in Java, C#, Python, and Android Intent examples. Basic integration (print, scan, drawer open) achievable in 2-3 days.
- REST API for remote management — Localhost REST API for cloud POS apps to control hardware over HTTP. Endpoints for printer status, drawer open/close, display content, and device health monitoring.
- Factory pre-installation service — Send us your OS image and POS software package. We flash it, install drivers, configure COM ports, test all peripherals, run 24-hour burn-in, and ship ready-to-deploy units. Defect rate under 1%.
- Integration testing service — Before mass production, we install your software on 2-3 sample terminals and run a full compatibility test: touch latency, dual-screen display, cash drawer kick, print quality, scanner capture, and 7-day continuous operation. You receive a test report before committing to production.
- Dual-LAN architecture — All SynqNode industrial mini PCs and POS terminals include dual LAN ports for PCI DSS network segmentation (payment VLAN + management VLAN) with no USB adapter workarounds.
Need help with your POS integration project?
Send us your software package and peripheral list. We will run a compatibility test and provide a deployment plan with factory pre-installation pricing.
Contact SynqNode Solutions Team
12. Frequently Asked Questions
Q1: Do I need OPOS/JavaPOS drivers, or can I just send raw ESC/POS commands directly?
You can send raw ESC/POS bytes directly to the COM port and it will work for basic printing. However, using OPOS/JavaPOS drivers provides three advantages: (1) hardware abstraction — your software works with any printer brand without code changes; (2) device state management — the driver handles online/offline detection, paper-out alerts, and cover-open events; (3) concurrent access — the driver arbitrates when multiple POS applications try to print simultaneously. For production deployments, always use OPOS/JavaPOS. For quick prototyping, raw ESC/POS is fine.
Q2: How long does a typical POS hardware-software integration take?
With OPOS/JavaPOS drivers and a manufacturer SDK, basic hardware integration (printer, drawer, scanner, display) takes 2-5 days of developer time. Payment integration (semi-integrated API) adds 1-2 weeks. Middleware integration (POS-to-ERP, inventory, ecommerce) adds 2-3 weeks. Total from start to pilot store live: 8-16 weeks for a typical deployment. Factory pre-installation can reduce field deployment time from 4 weeks to 1 week.
Q3: What is semi-integrated payment, and why should I use it?
Semi-integrated payment means the POS software sends only the transaction amount to the payment terminal; the terminal handles all card data (EMV chip, NFC, PIN entry) internally and returns only a tokenized result. This keeps the POS software outside PCI DSS scope for card data handling. Without semi-integration, your POS software touches card numbers and track data — putting it in full PCI DSS scope, which requires annual audits, quarterly scans, and SAQ-D (the most rigorous self-assessment questionnaire). Semi-integration reduces this to SAQ-A or SAQ-A-EP (the lightest scope).
Q4: Can I use a commercial PC for POS integration instead of an industrial mini PC?
You can, but you will face three integration challenges: (1) no RS232 COM ports — you need USB-to-serial adapters for POS printers and cash drawers, which are less reliable and cost $30-$60 per unit; (2) no dual LAN — you cannot do PCI DSS network segmentation without a USB Ethernet adapter, which PCI auditors may flag; (3) short lifecycle — commercial PCs change motherboard revisions every 12-18 months, meaning replacement units require re-imaging and re-testing. Industrial mini PCs solve all three: native COM ports, dual LAN, and 5-7 year lifecycle stability.
Q5: What is the difference between API and SDK in POS hardware?
An API (Application Programming Interface) is a set of communication endpoints — your software sends a request and gets a response. An SDK (Software Development Kit) is a downloadable package that contains APIs plus libraries, documentation, sample code, compilers, and debugging tools. In POS hardware: the API might be "send ESC/POS bytes to COM3" while the SDK provides a library that wraps that into a simple printer.printLine("Hello") method call. SDKs make integration faster by handling low-level details for you.
Q6: How do I handle POS integration when the network goes down?
POS software should operate in offline mode with local data caching: (1) sales continue to process locally with receipt printing and cash drawer operation unaffected (these are local hardware operations); (2) payment terminals with EMV can authorize transactions offline for small amounts (floor limit); (3) inventory updates are cached locally and synced to the ERP when network restores; (4) a local SQLite or embedded database stores transactions for later upload. The middleware layer should implement idempotent retry logic so that when the network restores, cached transactions sync without duplicates. Design for at least 4 hours of offline operation.
Q7: Does SynqNode provide integration support for legacy POS software?
Yes. Our hardware uses industry-standard motherboards with universal interfaces (USB, COM, RJ11) that natively support the command sets used by 99% of POS software. For legacy software that requires specific older Windows environments or custom OS configurations, we can customize the OS image at the factory level. Our engineering team provides a pre-installation integration testing service: send us your installation package (.exe, .apk, or .msi), and we will test it on our hardware, run stress tests, and provide a compatibility report before you commit to a production order.
This article is brought to you by SynqNode Solutions Team — your B2B partner for POS terminals, electronic shelf labels, self-service kiosks, industrial mini PCs, and OEM/ODM manufacturing.
Visit www.smartstoreops.com for our full product catalog, SDK downloads, and integration documentation.