Self-service kiosks have moved from novelty to necessity. McDonald's processes over 70% of orders through kiosks in major markets. Walmart, Target, and CVS rely on self-checkout for peak-hour throughput. Airport check-in kiosks handle billions of passengers annually. If you are a customer, knowing
how to use a kiosk machine saves you time and avoids checkout-line frustration. If you are a business owner, understanding the user experience helps you choose, deploy, and support the right kiosk hardware.
This guide covers both perspectives — the customer-facing step-by-step process and the business-owner view of what makes a kiosk easy (or frustrating) to use.
What Is a Kiosk Machine?
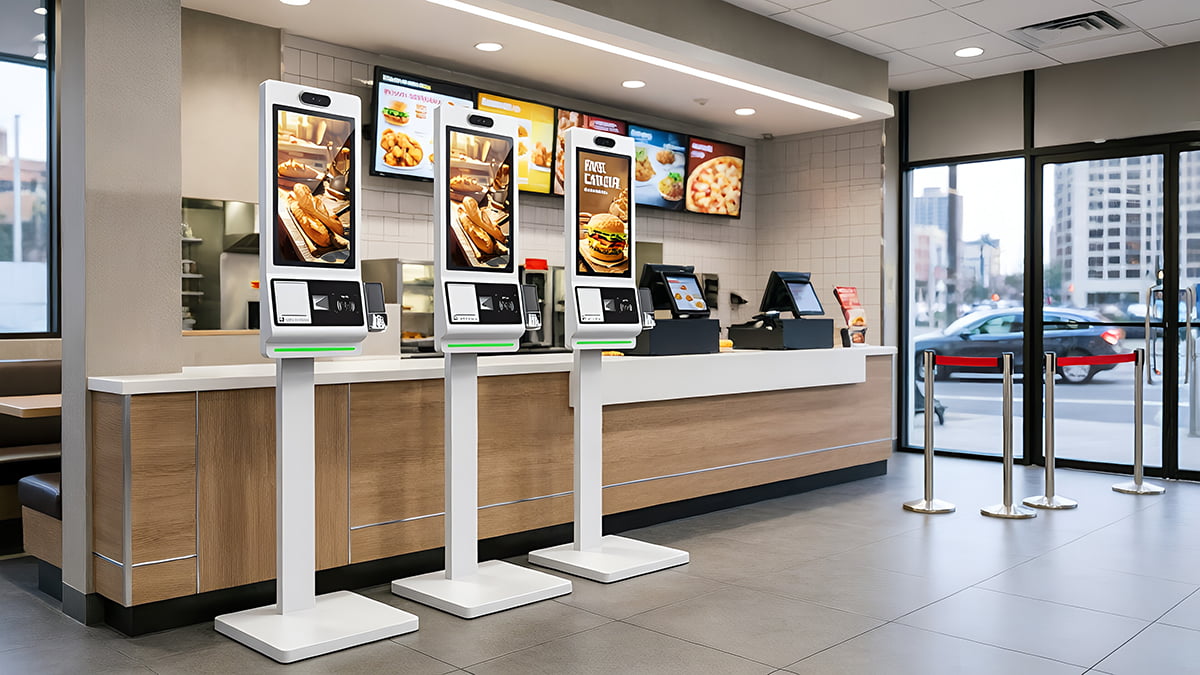
A kiosk machine is a self-contained interactive terminal that allows users to perform specific tasks — ordering food, checking in for flights, paying bills, scanning products, or printing tickets — without assistance from a staff member. The core hardware components include:
- Touchscreen display (15–32 inches, typically capacitive multi-touch)
- Card reader / payment terminal (contactless, chip, or magnetic stripe)
- Receipt printer (thermal, 58mm or 80mm paper)
- Barcode scanner (1D/2D, handheld or embedded)
- Enclosure (floor-standing, counter-top, or wall-mounted)
Different kiosk types serve different purposes. The basic operating flow — select, customize, pay, confirm — is similar across all of them, but the specific steps vary by application.
How to Use a Kiosk Machine: 8-Step Universal Process
Whether you are at a restaurant, airport, pharmacy, or government office, the kiosk interaction follows eight core steps. Here is the universal process:
Step 1: Start the Session
Approach the kiosk and touch the screen. If the display is in sleep mode, a single tap wakes it. Some modern kiosks use proximity sensors — the screen lights up as you approach, eliminating the need to tap.
Tip: If the screen does not respond within 3 seconds, look for a physical power button on the side or base of the enclosure. Kiosks in high-traffic areas sometimes power-cycle overnight.
Step 2: Select Your Language
Most kiosks offer 2–6 language options on the first screen. Choose your preferred language — this sets the interface for the entire session.
Note: In international airports and tourist areas, kiosks may offer 8–12 languages. If you do not see your language, look for an English option, which is universally available.
Step 3: Choose Your Service or Product
The main menu appears. What you see depends on the kiosk type:
| Kiosk Type |
What You Select |
| Restaurant |
Menu items, combos, sides, drinks |
| Airport |
Flight check-in, seat selection, baggage tag |
| Retail self-checkout |
Scan product barcodes |
| Pharmacy |
Prescription pickup, refills |
| Bill payment |
Utility account, amount |
| Ticketing |
Event, date, seat |
Browse categories by tapping menu tiles or using on-screen navigation arrows.
Step 4: Customize Your Selection
Most kiosks allow personalization before you confirm:
- Restaurants: Add/remove toppings, change portion size, note allergies
- Airports: Change seat assignment, add extra baggage, upgrade class
- Retail: Apply coupons, adjust quantities, remove items
- Pharmacy: Verify prescription details, set pickup time
Take your time here — changes after payment are much harder to make.
Step 5: Review Your Order
Before payment, the kiosk displays a summary screen showing everything you selected, quantities, individual prices, and the total. This is your last chance to make changes.
Check for:
- Correct quantities (did you accidentally order 3 burgers instead of 1?)
- Applied discounts or promotions
- Special instructions (e.g., "no onions") are listed
- Tax and total are reasonable
Use the "Edit" or "Back" button if anything is wrong. Do not proceed to payment until the summary is correct.
Step 6: Pay at the Kiosk
The kiosk presents payment options. Most modern kiosks support:
- Contactless (NFC): Tap your phone (Apple Pay, Google Pay) or contactless card
- Chip (EMV): Insert your card chip-first, leave it in until prompted to remove
- Swipe (magnetic stripe): Less common now, but still available on older kiosks
- Cash: Some kiosks accept bills and coins, dispense change, or issue store credit
Follow the on-screen prompts. Wait for the "Approved" or "Payment Successful" message before removing your card or leaving the kiosk.
Step 7: Collect Your Receipt or Order Number
After payment, the kiosk does one of the following:
- Prints a paper receipt with your order number
- Displays a QR code or order number on screen (take a photo)
- Both prints and displays
Keep this receipt — you will need it to collect your order, board your flight, or pick up your prescription.
Step 8: Complete the Transaction
The final step depends on the kiosk type:
- Restaurant: Take your receipt to the pickup counter or wait for your number on the display board
- Airport: Proceed to baggage drop or security with your boarding pass
- Retail: Bag your items and exit through the self-checkout lane
- Pharmacy: Wait for staff to call your name or number
- Ticketing: Proceed to the entrance with your printed ticket or QR code
The screen returns to the welcome message, ready for the next user.

How to Use Different Types of Kiosk Machines
The universal process above covers the basics. Here is how specific kiosk types differ in practice:
Restaurant Kiosks
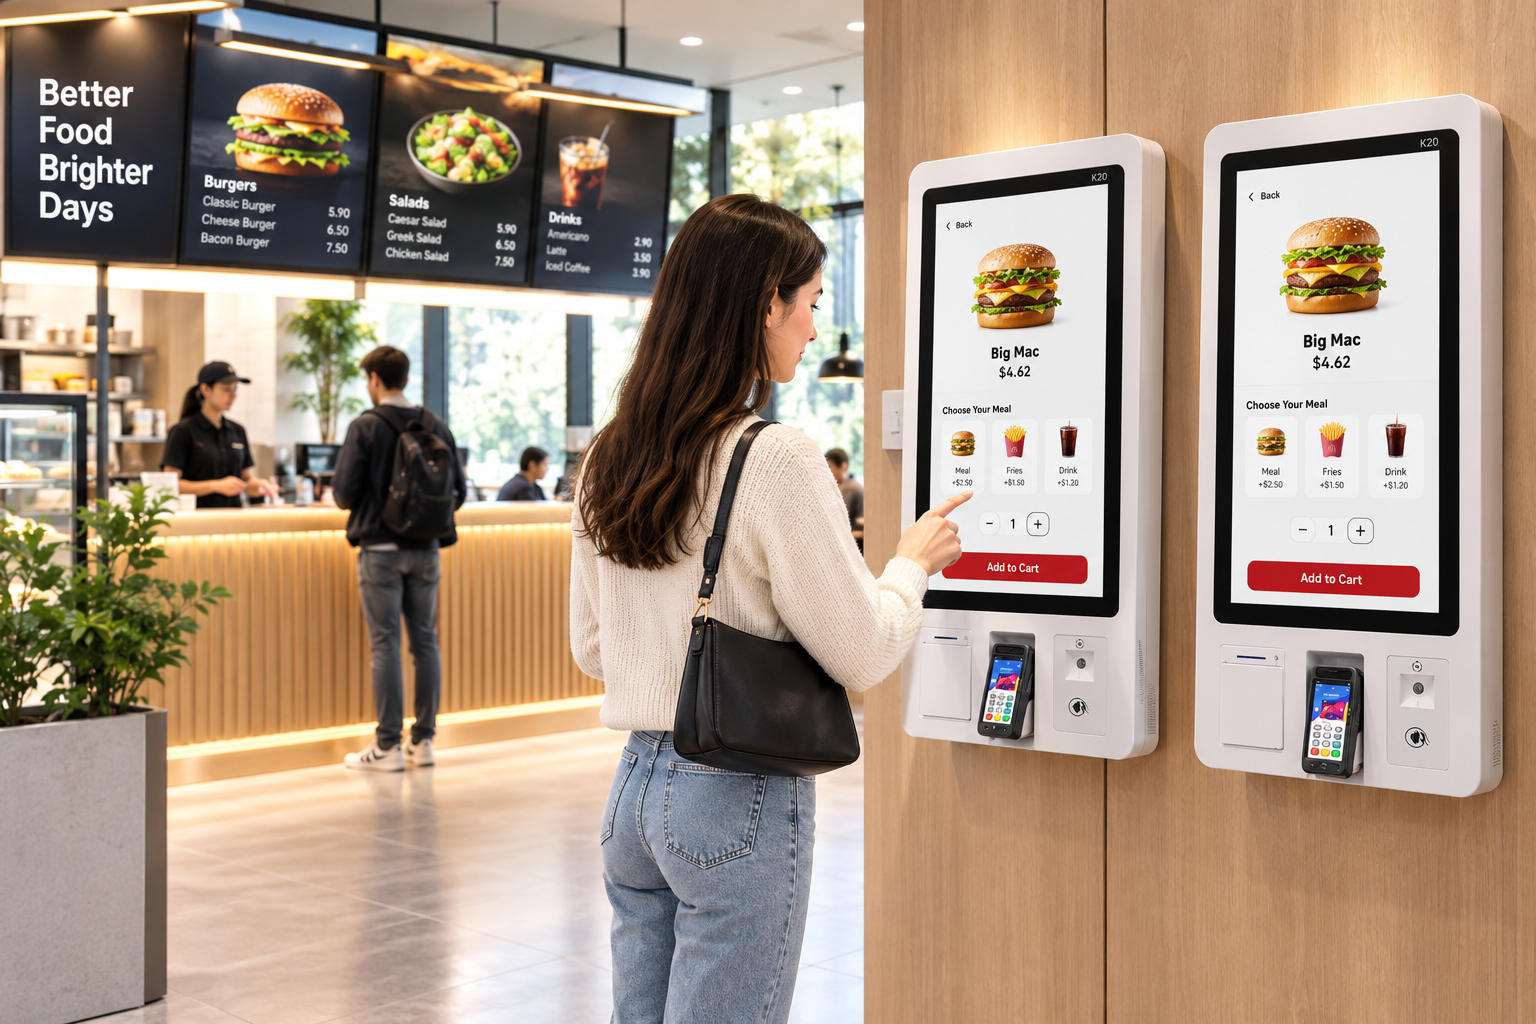
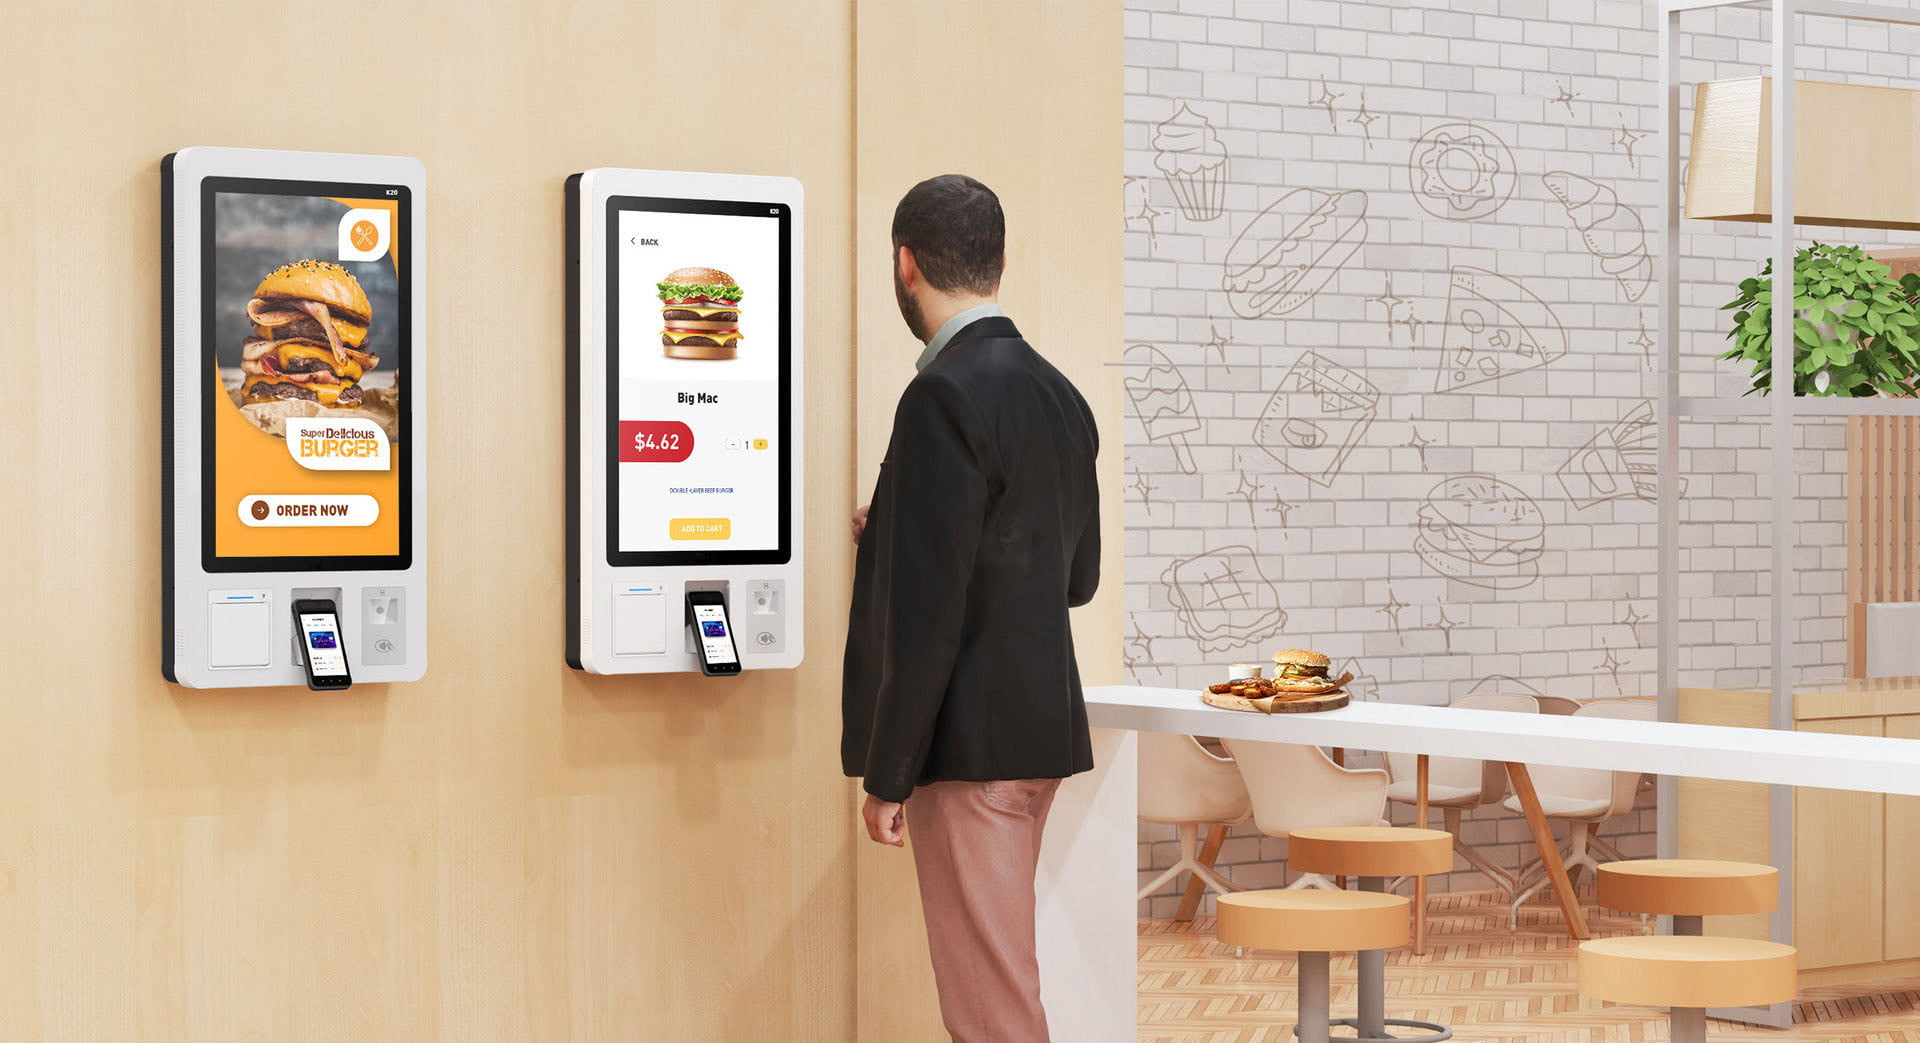
Restaurant kiosk screens typically display food categories as photo tiles. Tap a category (Burgers, Sides, Drinks), then tap the item. Customize size, add-ons, or special instructions. Add to cart, then browse other categories or proceed to checkout.
What makes a good restaurant kiosk: Large 21–27" touchscreen (so you can see food photos clearly), intuitive menu flow (category → item → customize → cart), and receipt printer that outputs a numbered ticket for pickup.
Self-Checkout Kiosks (Retail)
Self-checkout kiosks work differently — you bring products to the kiosk rather than browsing on screen. The process: scan each item's barcode → bag the item → scan next item → when done, tap "Finish and Pay" → choose payment method → collect receipt.
Common issue: "Unexpected item in bagging area." This happens when the bagging scale detects weight that does not match the scanned item. Remove items one by one until the error clears, or call an attendant.
Airport Check-In Kiosks
Enter your booking reference or scan your passport. The kiosk retrieves your flight information. Confirm your flight, select or change seats, and confirm baggage count. The kiosk prints boarding pass(es). If you have checked bags, proceed to the baggage drop counter with your bags and boarding pass.
Pharmacy Kiosks
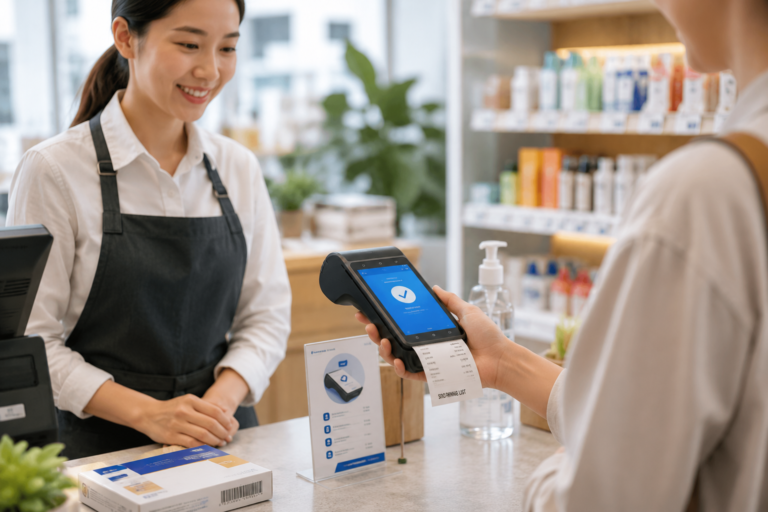
Enter your prescription number or scan the barcode on your prescription label. Confirm your personal information (name, date of birth). Wait for the system to verify the prescription is ready. Pay if there is a copay. Collect your medication from the pharmacy counter.
Bill Payment Kiosks
Select your service provider (electricity, water, gas, phone). Enter your account number. Confirm the amount due or enter a custom amount. Insert cash or pay by card. Collect your receipt as proof of payment.
Tips for First-Time Kiosk Users
If you have never used a kiosk machine before, these tips will help you feel confident:
- Do not rush. Kiosks are designed for self-paced interaction. Take your time reading each screen before tapping.
- Look for help buttons. Most kiosks have a "Help" or "Assist" button on screen, and physical call buttons on the enclosure. Staff receive an alert when you press them.
- Have your payment ready. Before starting, know which payment method you will use. Digging through your wallet while the kiosk waits creates a backup behind you.
- Use contactless when possible. Apple Pay, Google Pay, and contactless cards are the fastest payment methods. They also reduce touchscreen contact — tap your phone or card on the reader, no PIN needed for small amounts.
- Take a photo of the order screen. If the receipt printer jams (it happens), photograph the order confirmation on screen as backup proof of purchase.
- Ask for help without embarrassment. Kiosk adoption rates are still growing — an estimated 30% of first-time users need staff assistance. It is perfectly normal to ask.
- Check for senior discounts. Some kiosk systems in retail and transit automatically apply senior discounts when you select the option. Others require you to ask staff to apply the discount before using the kiosk.
Troubleshooting Common Kiosk Issues
Even well-maintained kiosks occasionally malfunction. Here is how to handle the most frequent problems:
| Problem |
Likely Cause |
What to Do |
| Screen frozen / unresponsive |
Software hang or memory overload |
Wait 30 seconds. If still frozen, press "Cancel." If that fails, move to another kiosk and alert staff. |
| Card payment declined |
Card issue, network timeout, or reader fault |
Try a different card or contactless payment. If multiple cards fail, the terminal may be offline — inform staff. |
| Receipt not printing |
Paper roll empty or jammed |
Check the screen for a digital receipt option (email or SMS). Tell staff — they can reprint. |
| Barcode scanner not reading |
Dirty lens, damaged barcode, or wrong scanner type |
Clean the scanner glass. Try different angles. If barcode is damaged, enter the number manually. |
| "Unexpected item in bagging area" |
Weight mismatch on bagging scale |
Remove all items. Rescan and replace one at a time. If it persists, call an attendant. |
| Kiosk reboots mid-transaction |
Power fluctuation or scheduled maintenance |
Check if your card was charged. If charged, contact staff to verify. If not charged, start over on a different kiosk. |
| Wrong language selected |
Accidental tap on language screen |
Look for a flag icon or "Language" button in the corner. If none, language cycles back after 60 seconds of inactivity. |
What Business Owners Should Know About Kiosk Usability
If you are a business owner considering kiosk deployment, understanding how customers interact with kiosks directly impacts your ROI. A kiosk that confuses users slows down throughput, increases support requests, and frustrates customers.
Choose the Right Screen Size
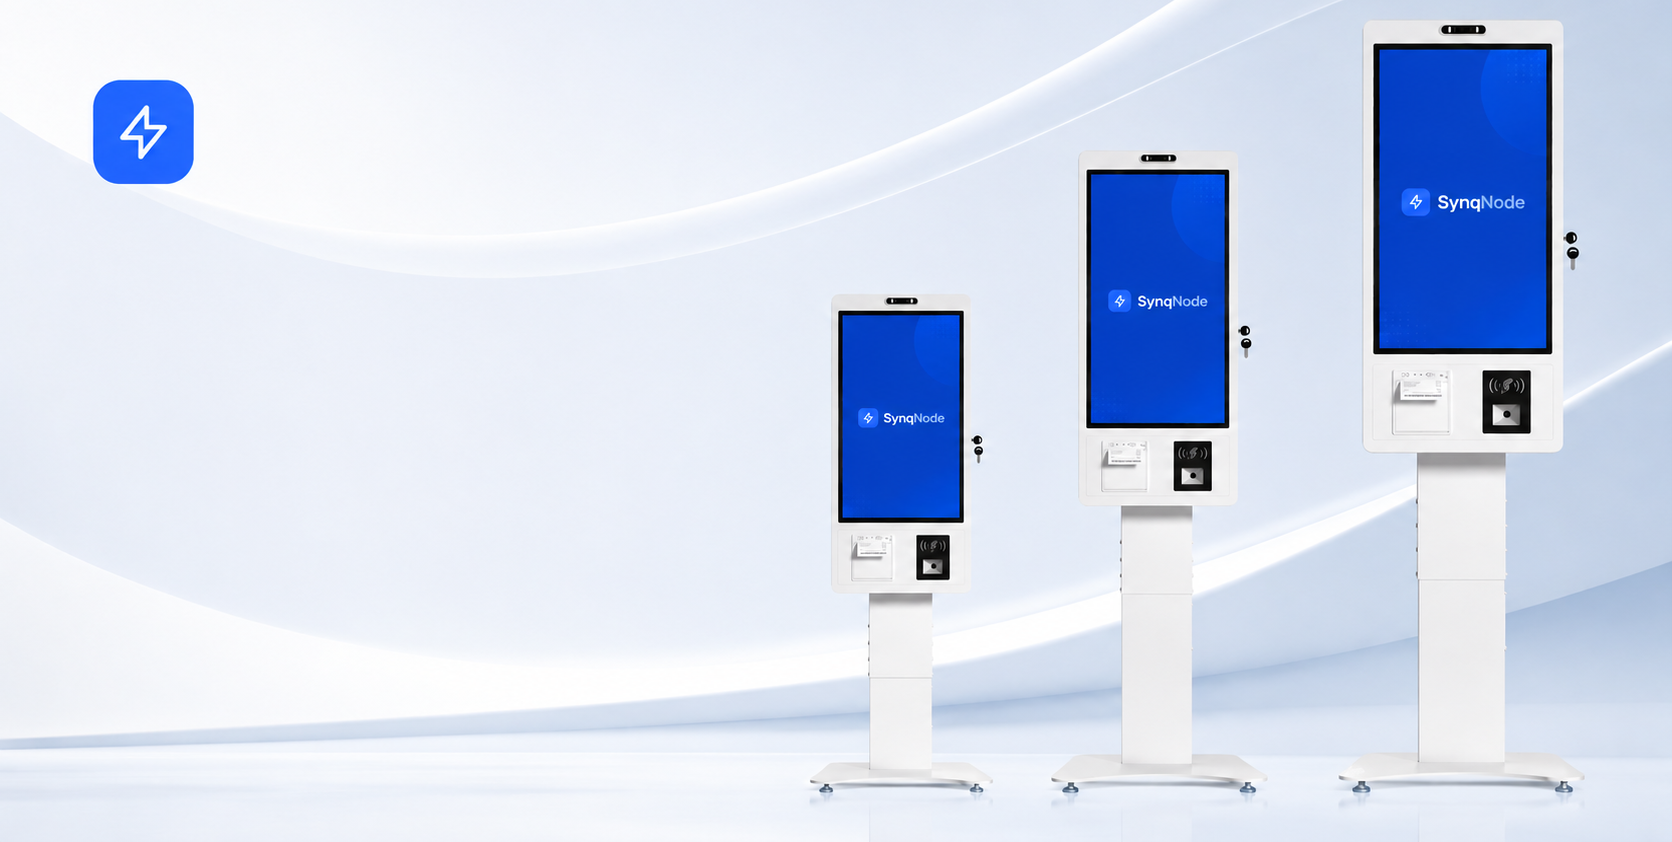
| Screen Size |
Best For |
Why |
| 15" |
Pharmacy, bill payment, check-in |
Compact, enough for forms and lists |
| 21" |
Quick-service restaurants, retail |
Balanced size for menu browsing + photos |
| 27" |
Large-format menu, wayfinding, signage |
High visual impact, good for advertising |
| 32" |
Drive-thru, outdoor kiosks |
Visible from distance, weather-resistant |
Optimize the User Flow
The best kiosk interfaces follow the "3-tap rule" — a user should reach any product or service in no more than 3 taps from the home screen. Audit your kiosk menu:
- Home → Category → Item = 3 taps (good)
- Home → Category → Subcategory → Sub-subcategory → Item = 5 taps (too deep)
Payment Terminal Placement Matters
The card reader should be at a comfortable reaching height (38–42 inches from the floor for standing users). Readers placed too high or too low cause awkward posture, slower transactions, and accessibility issues for wheelchair users.
Plan for Accessibility
ADA-compliant kiosks (US) and EN 301 549 (EU) require:
- Screen controls reachable from a seated position (15–48 inches from floor)
- Audio output via headphone jack for visually impaired users
- Contrast ratio of at least 4.5:1 for text
- Touch target minimum 44 × 44 pixels
How Long Does It Take to Learn a Kiosk Machine?
For customers, the learning curve is minimal. Studies show that 85% of first-time kiosk users complete their transaction without assistance. The remaining 15% typically need help only on the first attempt — by the second visit, over 95% use the kiosk independently.
Average transaction times by kiosk type:
| Kiosk Type |
First-Time User |
Experienced User |
| Restaurant ordering |
2–4 min |
60–90 sec |
| Retail self-checkout |
3–5 min |
1.5–2.5 min |
| Airport check-in |
3–5 min |
2–3 min |
| Pharmacy pickup |
2–3 min |
60–90 sec |
For business owners training staff to assist kiosk users, expect a 30-minute training session to cover basic operations, common issues, and escalation procedures.
Frequently Asked Questions
What is a kiosk machine used for?
A kiosk machine is used for self-service transactions including food ordering, retail checkout, airport check-in, prescription pickup, bill payment, and ticket purchasing. It allows customers to complete tasks independently without waiting for staff assistance.
How do I pay at a kiosk machine?
Most kiosk machines accept contactless payments (Apple Pay, Google Pay, tap-to-pay cards), chip cards (EMV), and some accept cash. The payment terminal is usually located below or beside the touchscreen. Follow the on-screen prompts to complete payment.
Is it safe to use a kiosk machine?
Yes. Kiosk payment terminals are PCI PTS certified and use end-to-end encryption. For hygiene, many modern kiosks offer contactless payment so you can avoid touching the screen entirely. Some kiosks also provide hand sanitizer dispensers beside the unit.
What should I do if a kiosk machine malfunctions?
Do not attempt to fix the hardware yourself. Look for a "Help" button on screen or a physical call button on the kiosk enclosure. If neither is available, alert nearby staff. If your payment was processed but the kiosk did not complete the transaction, keep your card statement and contact the business for a refund.
Can I use a kiosk machine if I have a disability?
ADA-compliant kiosks (US) and EN 301 549 kiosks (EU) are designed for wheelchair access, with screens and controls between 15 and 48 inches from the floor. Many kiosks also offer audio guidance via headphone jack and high-contrast display modes. If a kiosk is not accessible, businesses are required to provide equivalent service through staff assistance.
How long does it take to use a kiosk machine?
For most kiosk types, an experienced user completes a transaction in 1–3 minutes. First-time users typically take 2–5 minutes. Restaurant kiosks average 60–90 seconds for experienced users, while retail self-checkout averages 1.5–2.5 minutes depending on the number of items.
Ready to Deploy Self-Service Kiosks?
SynqNode manufactures self-service kiosks for restaurants, retail, healthcare, and transportation — with touchscreen sizes from 15" to 32", integrated payment terminals, and ADA-compliant enclosures. Our team helps you select the right hardware, configure the user flow, and deploy with full staff training.
Explore Kiosk Hardware Read Our Kiosk Buying Guide
Related reading: Self-Service Kiosk articles | Buyer Guides